How to setup VSCode for Data Science
12 Aug, 2026•8 min read
Why?
So I recently started a Data Science course and learnt to use Amazon SageMaker Studio Lab (ASL) to create and run our DS projects. ASL is a free Machine Learning (ML) development environment that provides a web based virtual interface to perform all Data Science and Machine Learning steps. Its really easy to setup and use but I found one drawback for my use case. I wanted a Web Interface for my Data Science apps. So I wanted to test them locally and then deploy it to Heroku. Unfortunately ASL doesn't support browser in its virtual environment. So decided to set it up locally :)
What?
In this blog I'll walk you thru the steps to setup dev environment for Data Science and Machine Learning locally. This is ideal for learning and quickly proto-typing ideas and applications, but not for training production Data Models as it might require a lot of processing power. We are going to use Docker and Visual Studio Code so setup the environment. We will also setup few VS Code plugins during the setup.
How?
Step 1: Install and setup docker
Install Docker by following the steps for respective platform here
Step 2: Install and setup Visual Studio Code
Install Visual Studio Code by following the steps for respective platform here
Step 3: Setup workspace
In your workspace create a directory called Data Science. This will be the root directory for all Data Science related projects and applications.
Step 4: Setup Remote Containers
Open the newly created Data Science directory in VS Code. Click Ctrl + Shift + P on Windows or Cmd + Shift + P in Mac to open the Command Pallet in VS Code
Step 4.1: Add Development Container
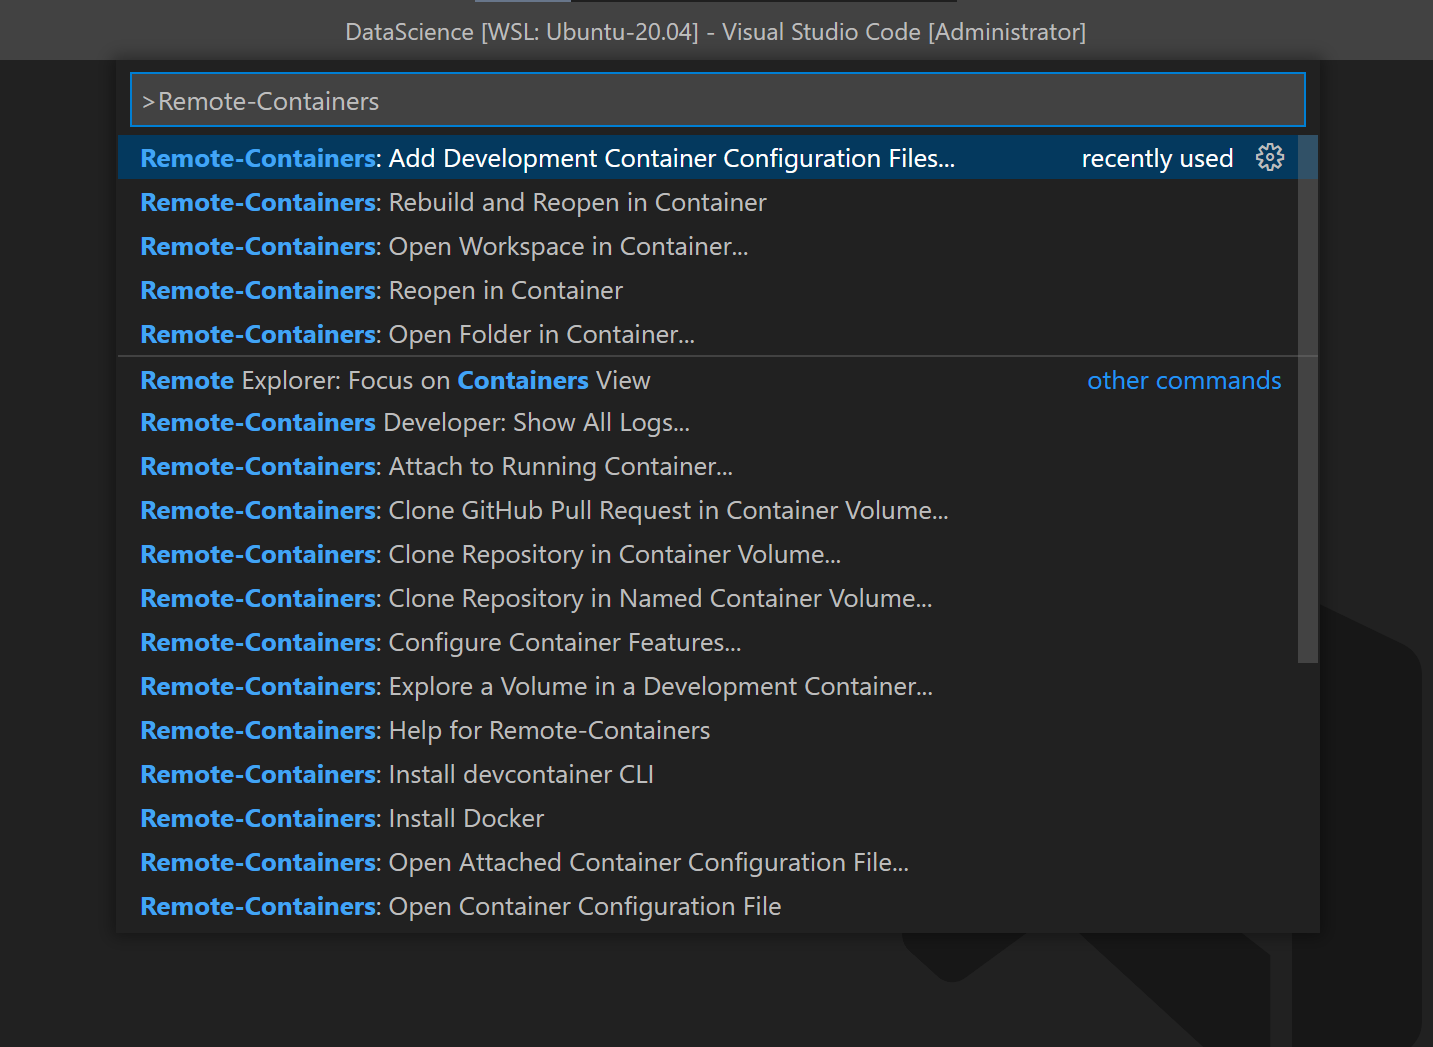
In the command pallet search for Remote-Containers and you should see a list of commands for Remote-Containers. Click on Remote Containers: Add Development Container Configuration Files

Step 4.2: Select Anaconda (Python 3)
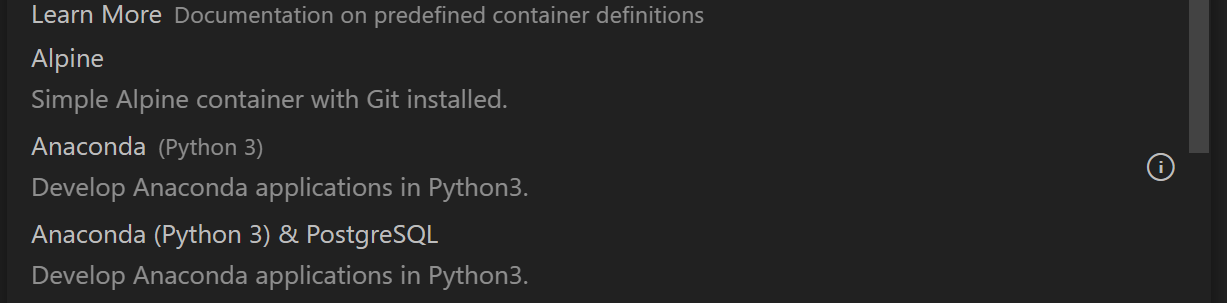
You should see the list of Dev Containers. These are various Docker dev environments that VSCode offers out of the box. From the list select Anaconda (Python 3).
Step 4.3: Select Node version
For the Node version you can select lts or none depending on the use case.

Step 4.4: Skip additional features
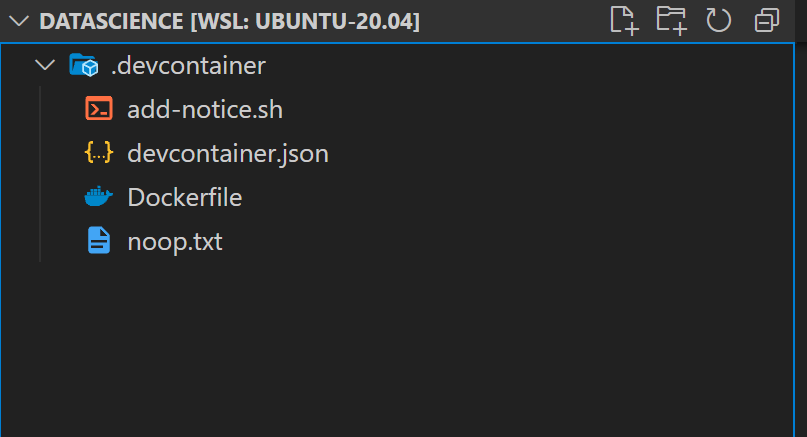
DO NOT select any additional features to install and click ok. You should see a new folder called .devcontainer in the directory. Two files to look into are
-
devcontainer.jsonThis file contains all theVSCoderelated options likesettings,extensionsetc. that we want when we runVSCodefromDocker Container -
DockerfileThis file builds the container and install all the required dependencies.
Step 5: Build and open Docker container.
Next we need to build and open the folder in Docker Container. To do that, open the Command Pallet by clicking Ctrl + Shift + P in Windows or Cmd + Shift + P on Mac. Search for Remote-Containers and run Remote-Containers: Rebuild and Reopen in Container. This might take few mins depending on internet connection and machine, but luckily we need to do this only once.

Step 5.1: Verify Docker container.
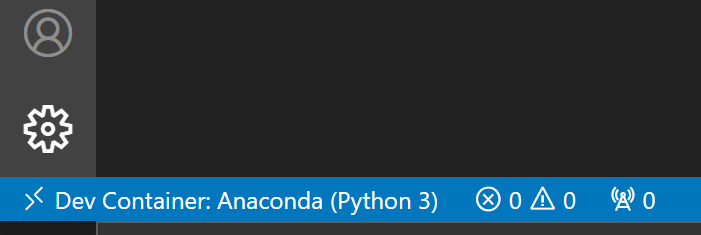
Once the container is built, VS Code automatically maps the local directory to workspace directory in the container and reloads the IDE. You should see Dev Container: Anaconda (Python 3) in the lower left corner of VS Code. This means your folder structure is now opened in the container.
Step 5.2: Verify Installations
Confirm Installations by opening a terminal in VS Code from Command Pallet

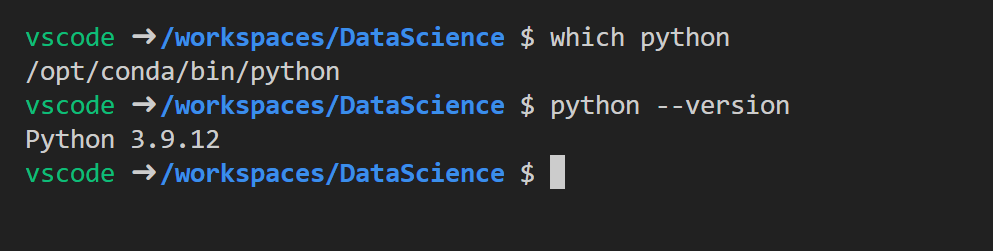
- Confirm
Pythonversion and runningwhich pythonandpython --version.
- Confirm
Condainstalled and we can check by runningconda --versioncommand.

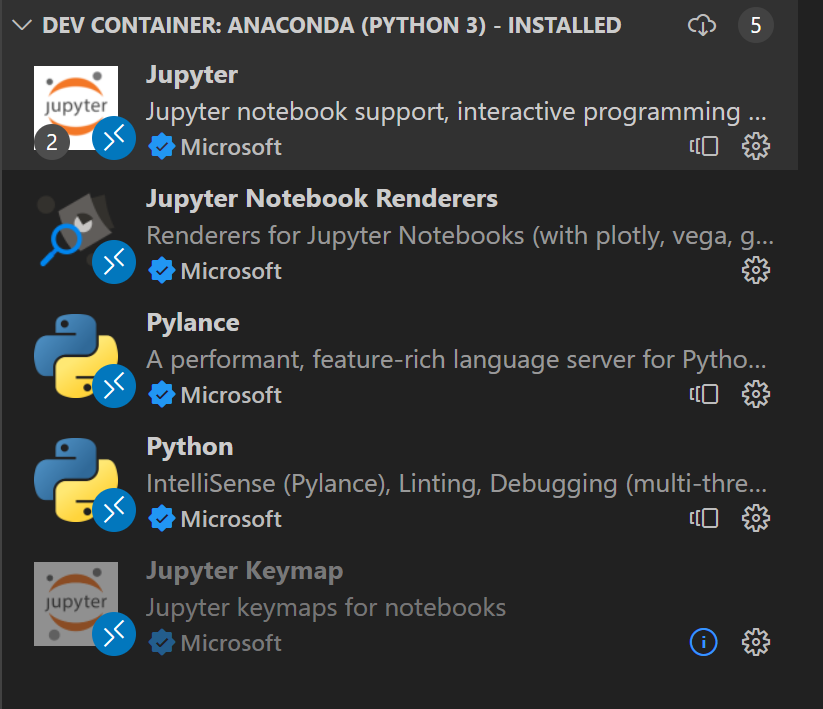
- Check the installed extensions by clicking
Ctrl + Shift + xon Windows orCmd + Shift + xon Mac
Step 6: Create Jupyter Notebook
Lets test the setup by creating a Jupyter Notebook. To do that,
-
Create new project directory called
hello_world -
Open a terminal in
VS CodefromCommand Palletand run the command to create newJupyter Notebook
Create: New Jypyter Notebook
- Save the notebook and select
hello_worlddirectory as destination.

- From
VS Codecommand pallet run following command to selectCondainterpreter for the notebook.
Jupyter: Select Interpreter to Start Jupyter Server


- Edit
hello_world.ipyband insert following commands to insert install requirements. Installation should few mins depending on internet speed and machine.
# ! conda install -c plotly plotly_express  -y
# ! conda install pandas -y
# ! conda install numpy -y
- In the next cell import the libraries
# import the python libraries

import numpy as np
import pandas as pd
import plotly.graph_objs as go
import plotly.express as px
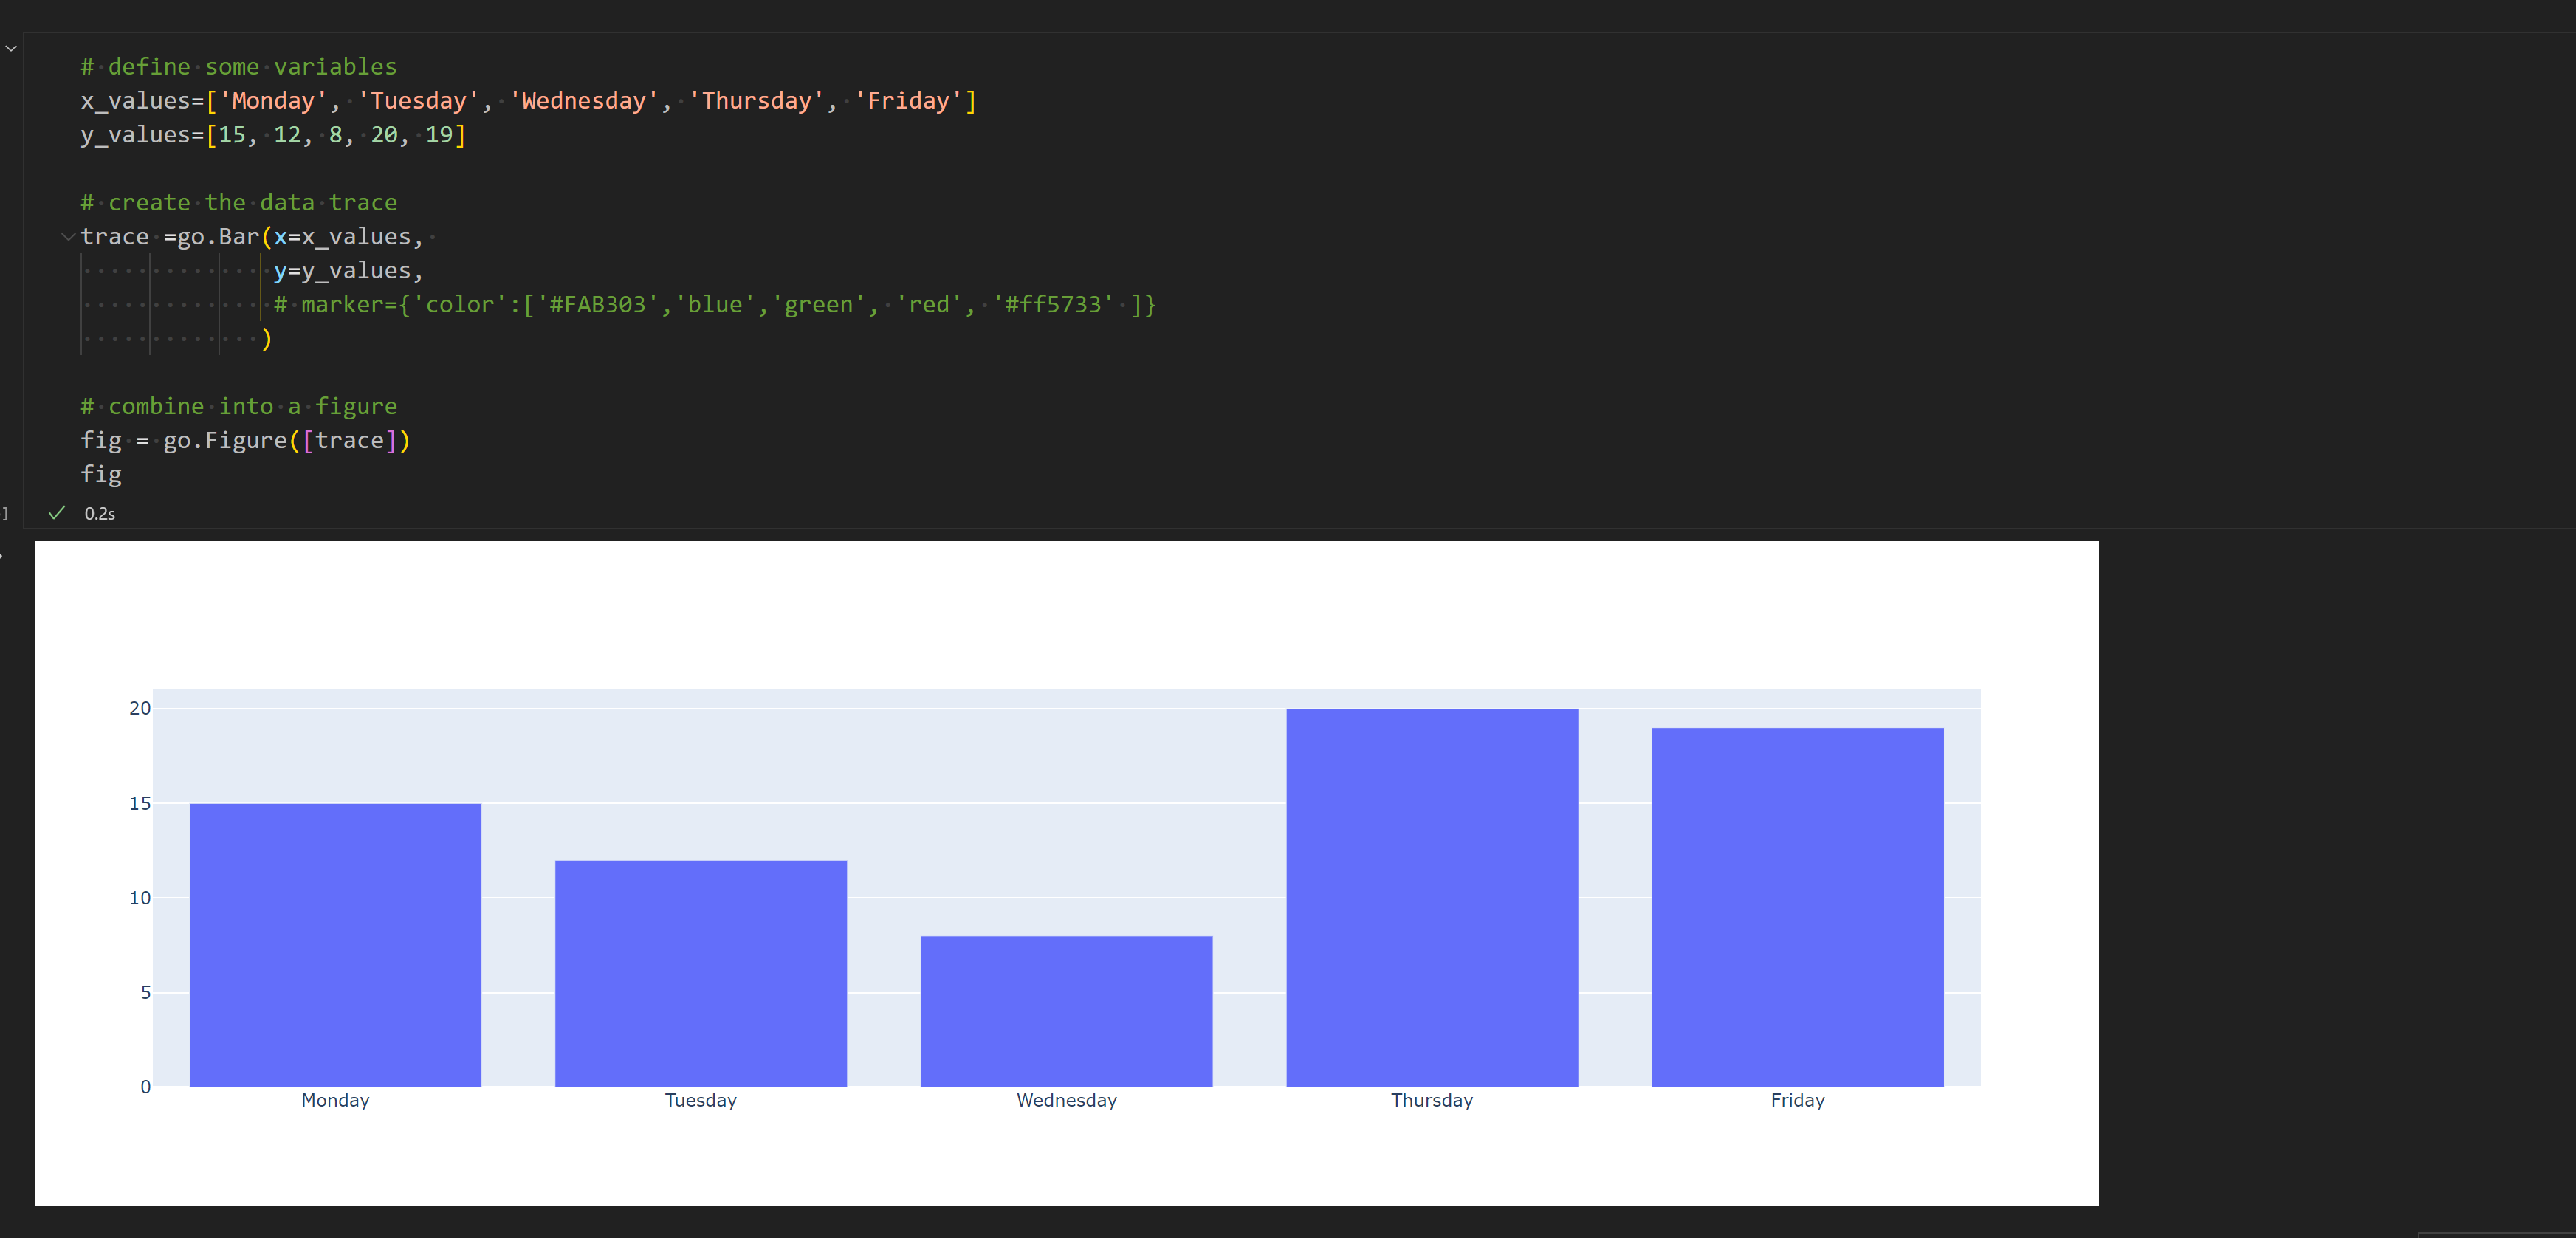
- Finally lets create a bar chart for a quick test
# define some variables
x_values=['Monday', 'Tuesday', 'Wednesday', 'Thursday', 'Friday']
y_values=[15, 12, 8, 20, 19]

# create the data trace
trace = go.Bar(x=x_values, y=y_values)

# combine into a figure
fig = go.Figure([trace])
fig
- If the bar chart loads as below, the setup is working as expected
Step 7: Heroku Setup
Finally lets install Heroku CLI to create and deploy Heroku apps. Run the following command to install in VSCode Terminal
curl https://cli-assets.heroku.com/install.sh | sh;
Login into CLI by running.
heroku login -i
If you have 2FA turned on, for the password copy/paste the API Key from Heroku > Account Settings > API Key on the web portal.
Step 7.1: Verify Heroku CLI
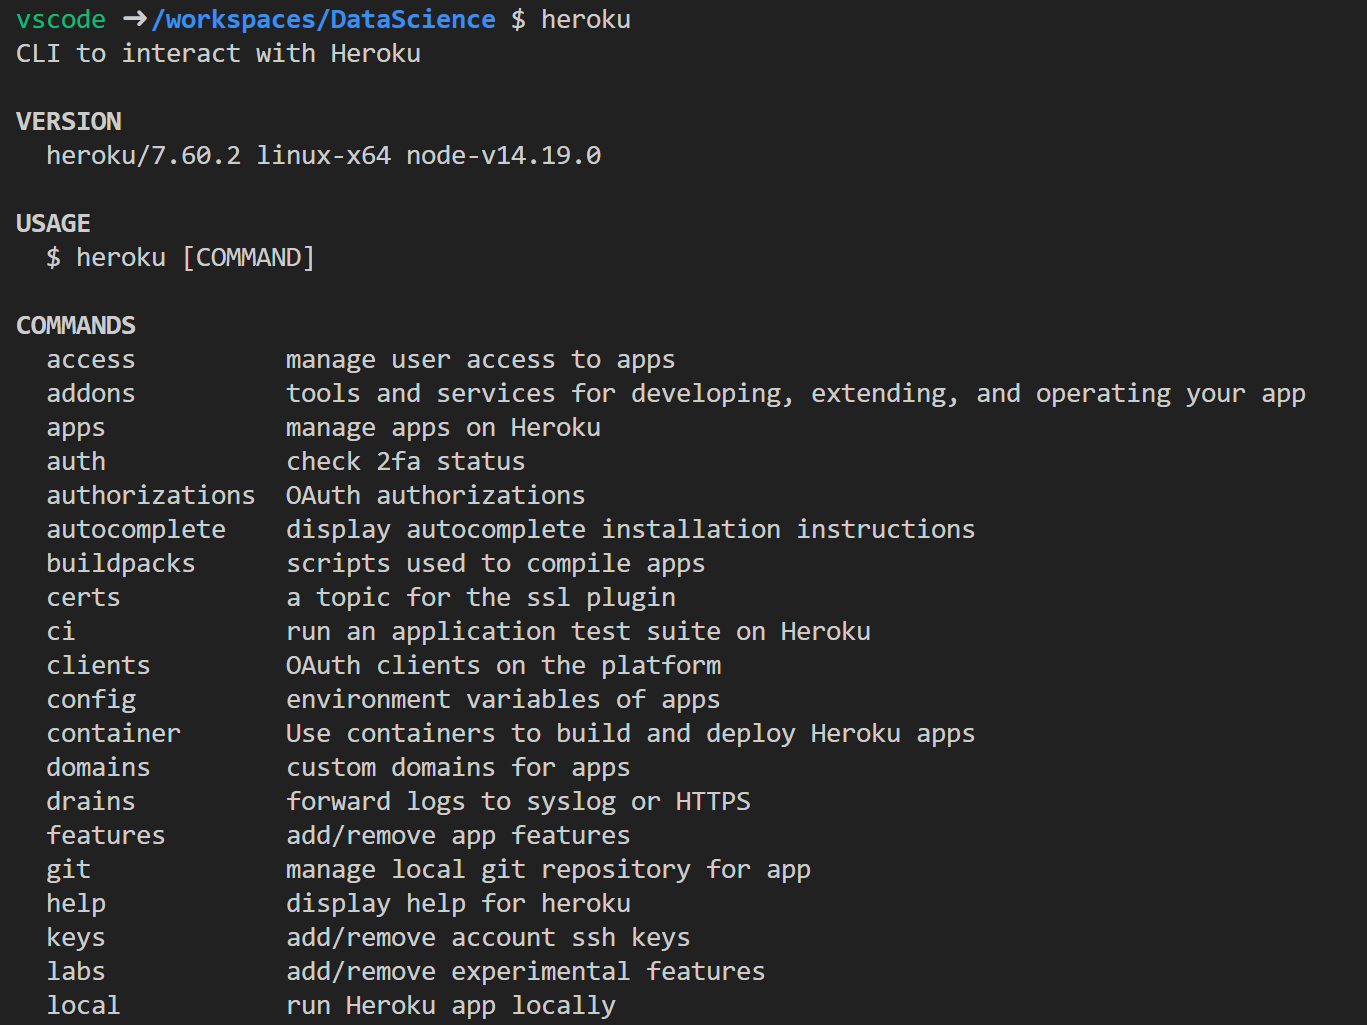
Verify Heroku CLI installation. By running following command on VSCode Terminal,
heroku
We should see Heroku version and supported commands.
-
Now create a
Pythonweb application usingFlaskto quickly test our setup. -
Open a terminal in
VS Codeand run following command to createvirtual environment
python -m venv env
- You should now see a new
envdirectory insidehello_world

- Run the following command to
activatethe environment
source env/bin/activate

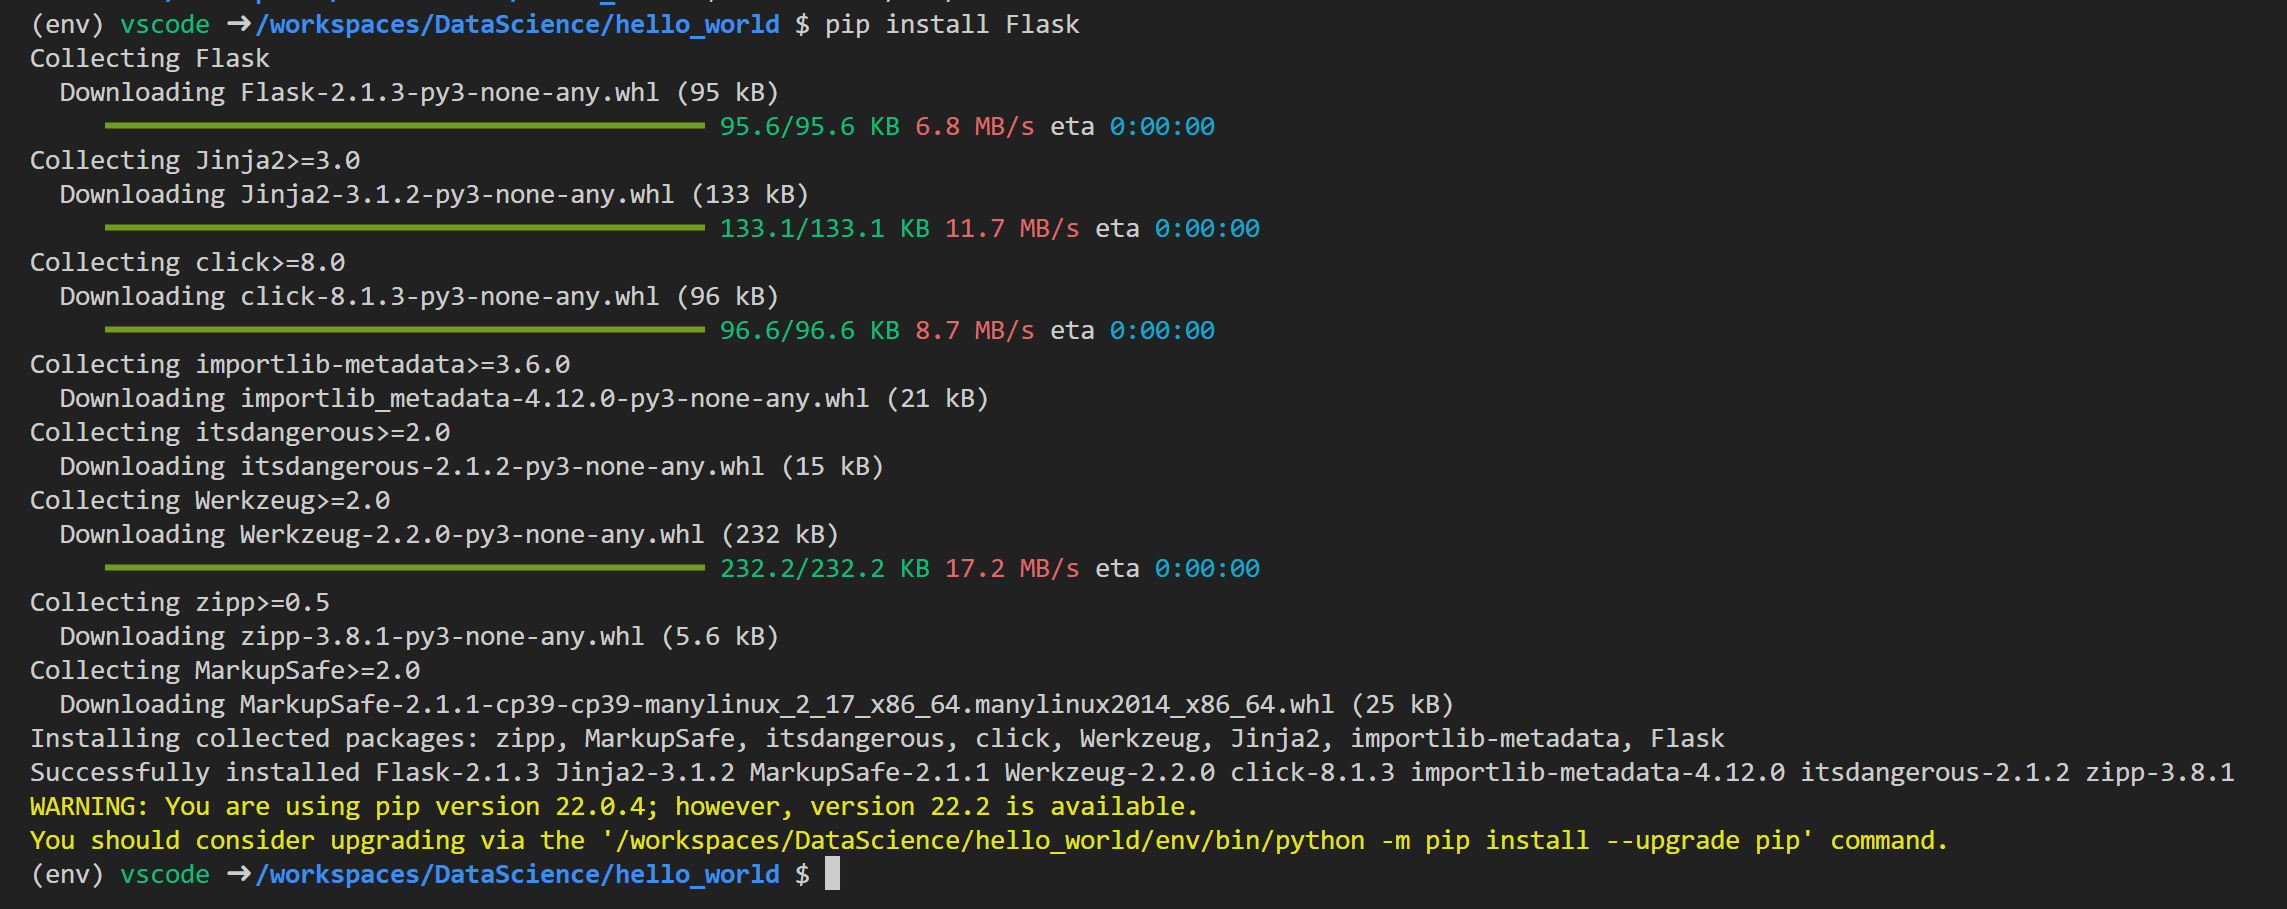
- Run the following command to install
Flasklibrary
pip install Flask
- Run the following command to create requirements.txt
pip freeze > requirements.txt

- Create
app.pyfile inhello_worlddirectory and add followingPythoncode to create anhello worldapp.
from flask import Flask
app = Flask(__name__)

@app.route('/')
def hello_world():
    return 'Hello, World!'

if __name__ == "__main__":
    app.run()
- Run the following command to run the server
python app.py
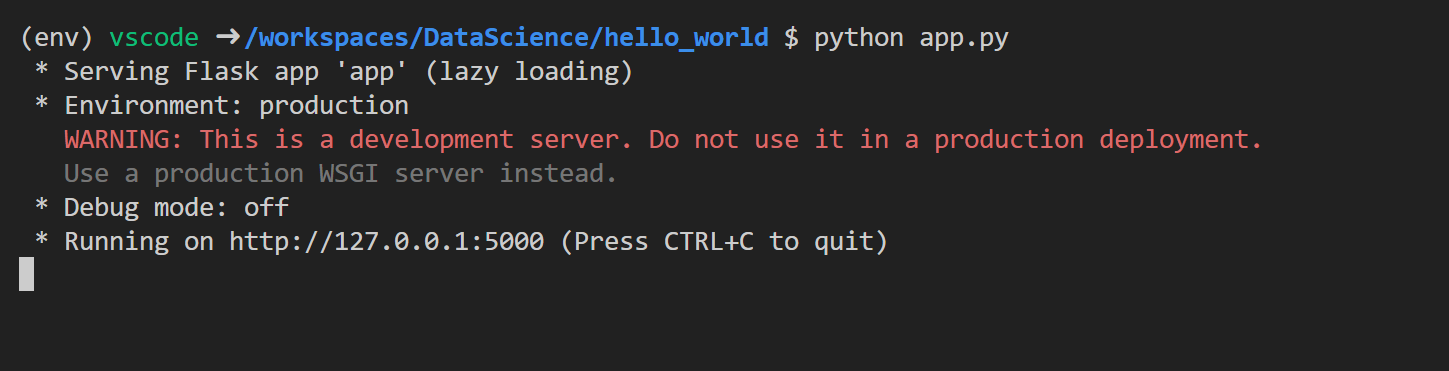
- On successful run,
VS Codewill automatically forward port to our host machine,
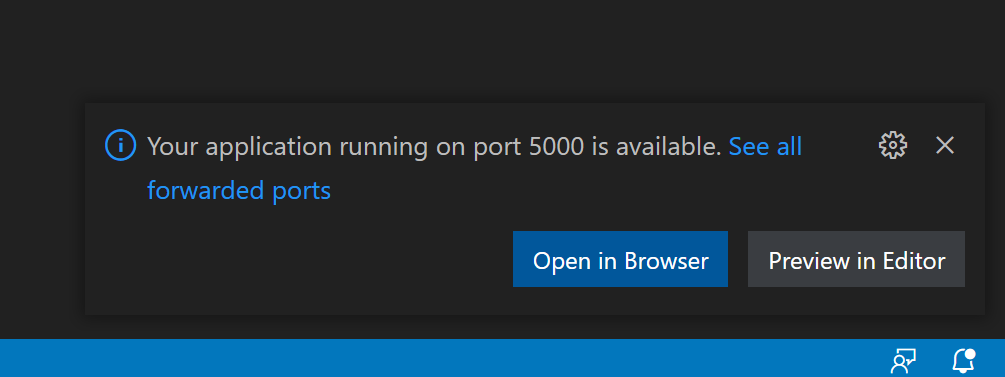
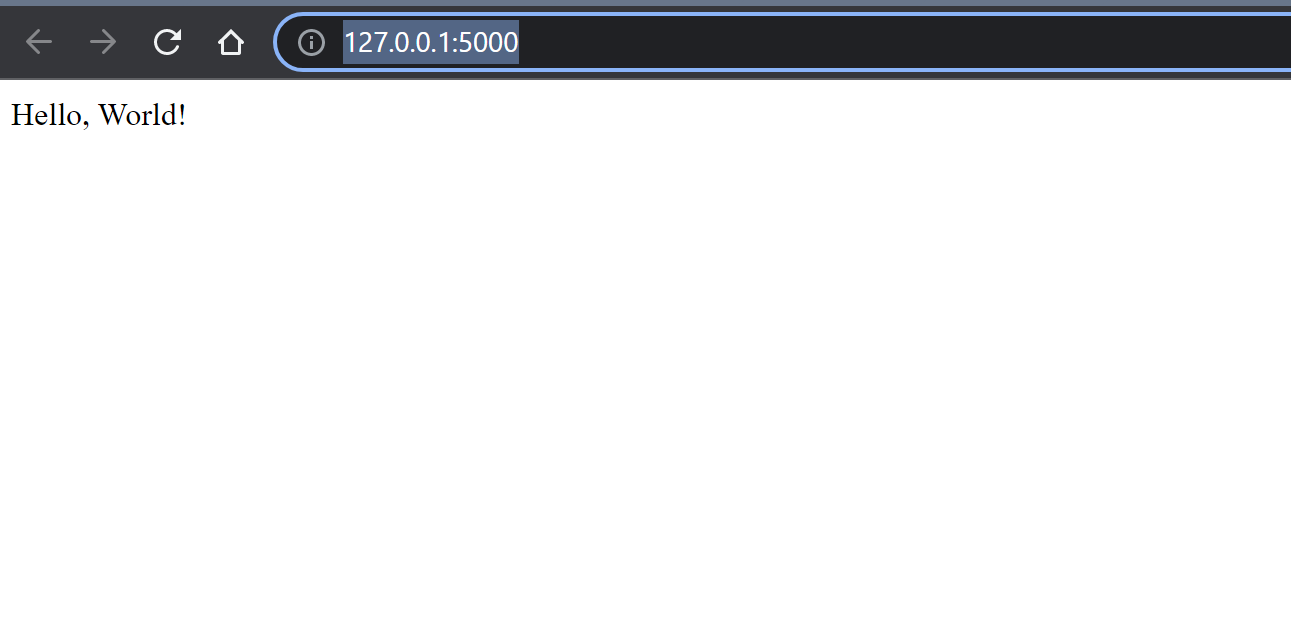
- Click
Open in Browseror go tohttp://127.0.0.1:5000/on your host machine to check our newHello Worldweb app locally.
- To run the app on
Herokuwe'll need to installgunicornweb server, by running following command
pip install gunicorn
- Make sure to update
requirements.txtby running
pip freeze > requirements.txt
- Create
Procfileto specify the commands executed byHerokuapp on startup. More info can be found here. Copy paste the following contents intoProcfile
web: gunicorn app:app
- Create
runtime.txtto define runtime environment forHerokuapp. Add docker container python version in the runtime
python-3.9.12
- Initialize
giton this repo by running following commands
git init
git add .
git commit -m "My first commit"
- Crate a new
Herokuapp by running following command
heroku create

- This will not only create a new
Herokuapp but also add newremoteserver for ourgitremote. Run the following command to confirm that,
git remote -v

- Finally run following command to deploy the app to
Heroku
git push heroku master
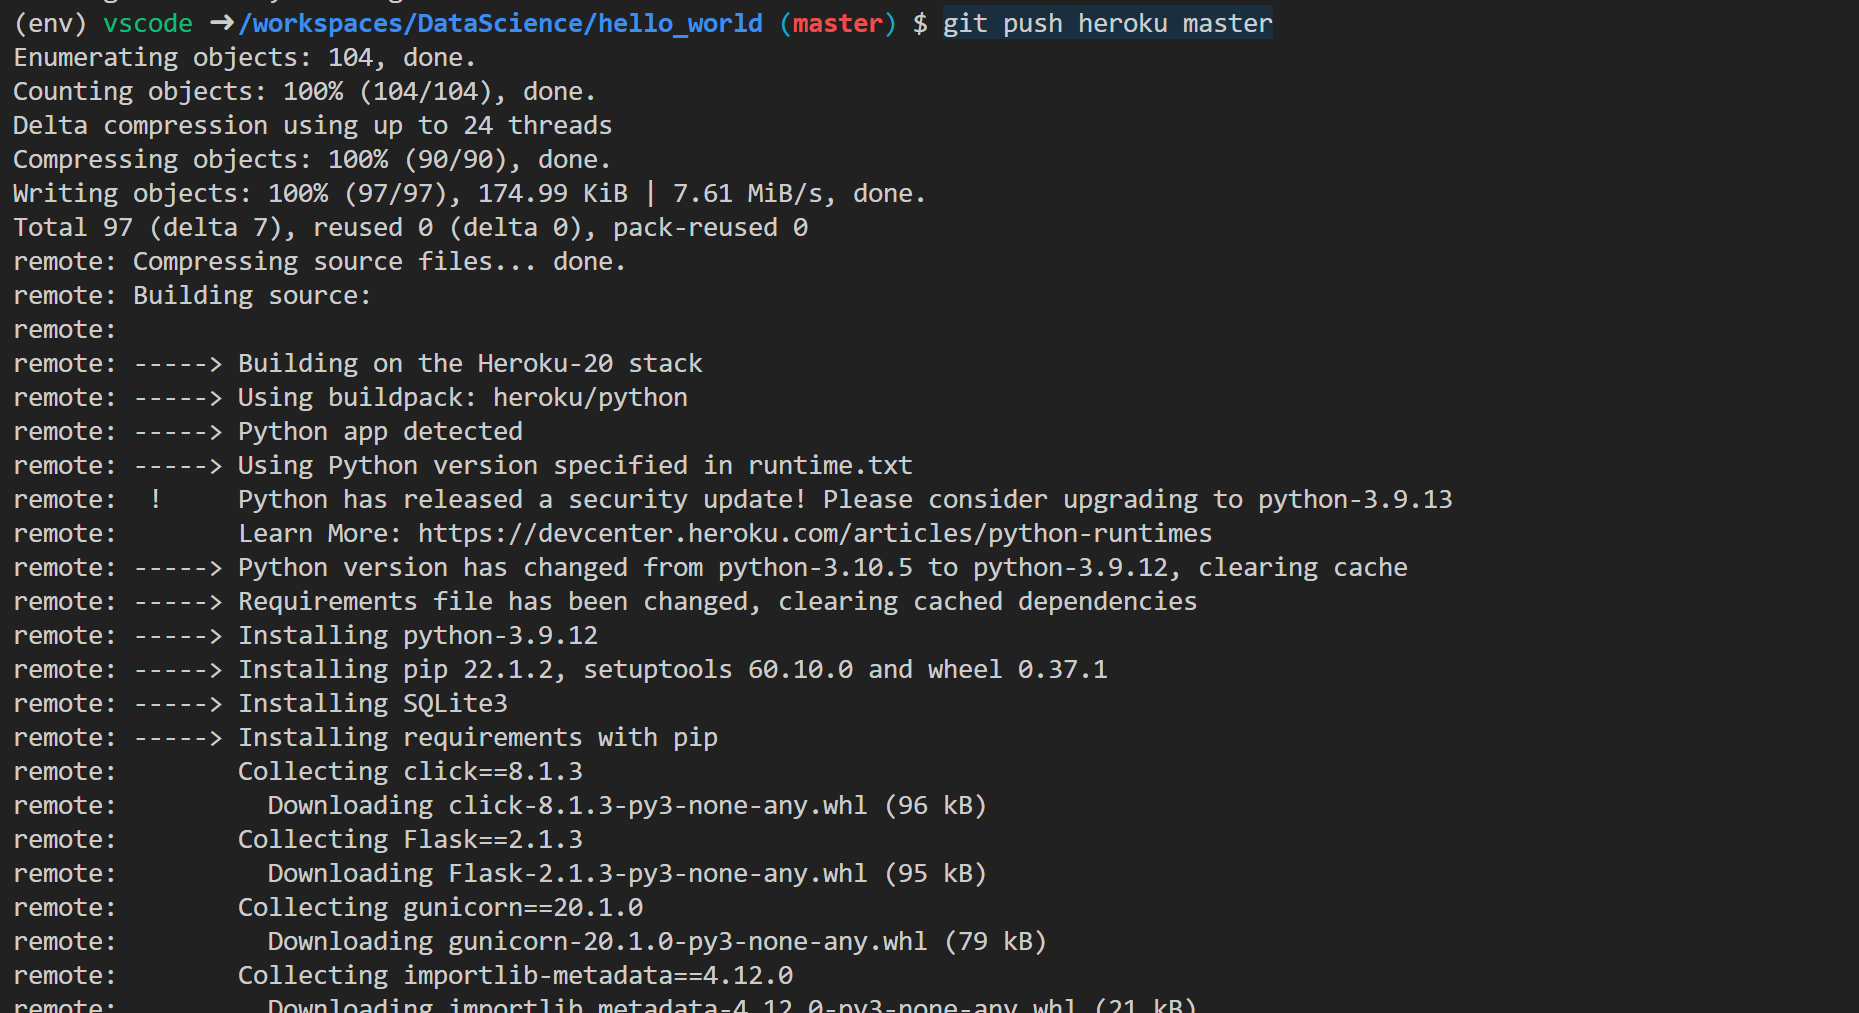
Heroku CLIwill build and deploy the app to the server, and can be accessed at the URL published in console logs
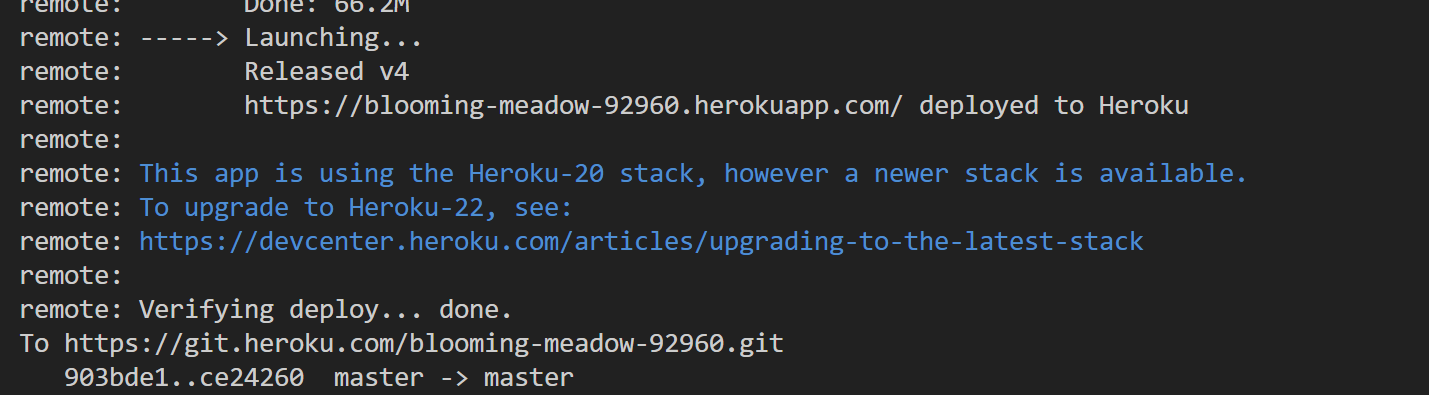
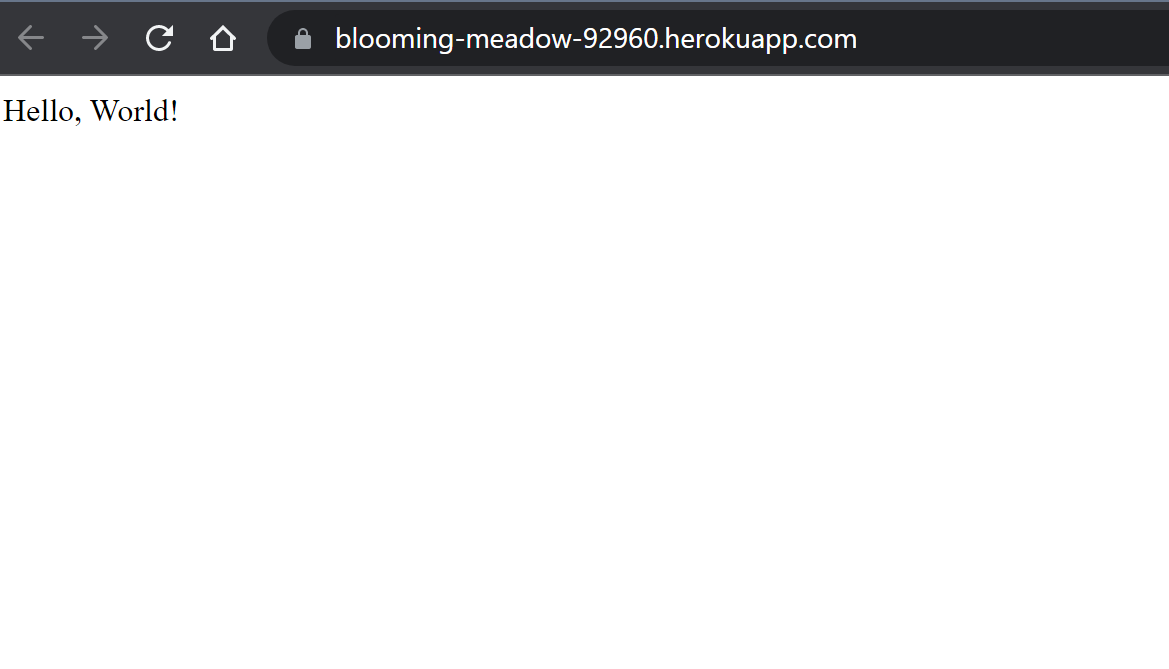
- We can also tail the logs by running
heroku logs --tail
The End
So that was it, thats how I've setup my local environment using Docker and VS Code. Please feel free to comment with any suggestions, improvements or issues.
Happy Coding!